How to cap a sprinkler head. You may easily cap off a sprinkler head if you want to get rid of it. Applying the instructions below, you can quickly cap a sprinkler head. Taking awareness of your sprinkler device’s performance can benefit you well.
Based on whether you reside in a freezing region and need the watering network to be winterized, capping or uninstalling a sprinkler is performed separately.
To avoid freezing harm, winterize your watering infrastructure by emptying or forcing the water off of it with pressurized gas.
In one round, a damaged sprinkler head can drain hundreds of liters of water. You’ll end up saving water and money if you monitor your sprinkler setup periodically.
How to cap a sprinkler head
Today is your serendipitous moment! What should you know? What is the best way to cap a sprinkler head?
-
Find the Final Point
The last sprinkler in a row is called a final point. Capping the end provides water in the underground pipe with no flow, wasting water flow if the sprinklers are set very far away.
It can lead water in the pipeline to frost and harm the channel in locations exposed to chilling. Ends should instead be sealed at the previous or second sprinkler unit.
-
Take away the sprinkler tip
Create a circle all about sprinkler unit with the shovels. Drill a hole shallow enough to reach the pump or tube that leads up to the sprinkler unit.
Withdraw the sprinkler face by moving it to the side, or anticlockwise, when you’ve cleared sufficient soil; you may require to utilize your hand to keep the nozzle in position so it wouldn’t spin out as much.
If that was an end sprinkler unit, you have the option of digging up the whole line and repurposing it somewhere or simply removing the very last sprinkler head.
To cap the pipe, you’ll be required to drill around the final sprinkler tip, so drill just away from the face back down to the mainline. Use caution when using the shovels to prevent shattering the pipeline.
-
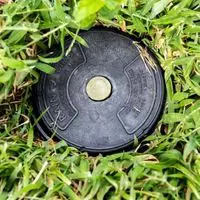
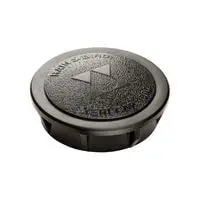
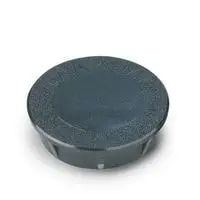
Set up the Cap
You might only see the risers going upwards from the watering pipe with the sprinkler unit uninstalled. Wash the riser’s strands with a moist cloth.
Apply Nonstick tapes to the strands and loop them in three or four rounds. This will assist in preventing water from leaking out. The breadth of your cap and the riser will be identical.
Tighten the lid over the ends with sufficient power to ensure that it is as hard as necessary.
Utilize Pipe scissors to slice the tube just above the sprinkler unit connection for an end cover. Wash the pipeline with PVC priming and allow sufficient room for the top to be put on.
Spread PVC plaster to the exterior of the channel and the interior of the cap when it has dried, then swiftly tighten the cap onto the pipe’s head.
-
Examine the head
Switch ON the sprinklers and test for leakage to ensure the cap is keeping water inside.
-
Complete the Missing Pieces
Close up the gap surrounding the top since all channels have been closed. As a replacement or maintenance component, the sprinkler unit can be utilized.
This is crucial knowledge to have because natural supplies are getting increasingly valuable, particularly in drier locations.
Conclusion
This is the end of this article. In this post, we have presented a tutorial. We hope that we have cleared all your queries.
How to cap a sprinkler head?
Related Guides