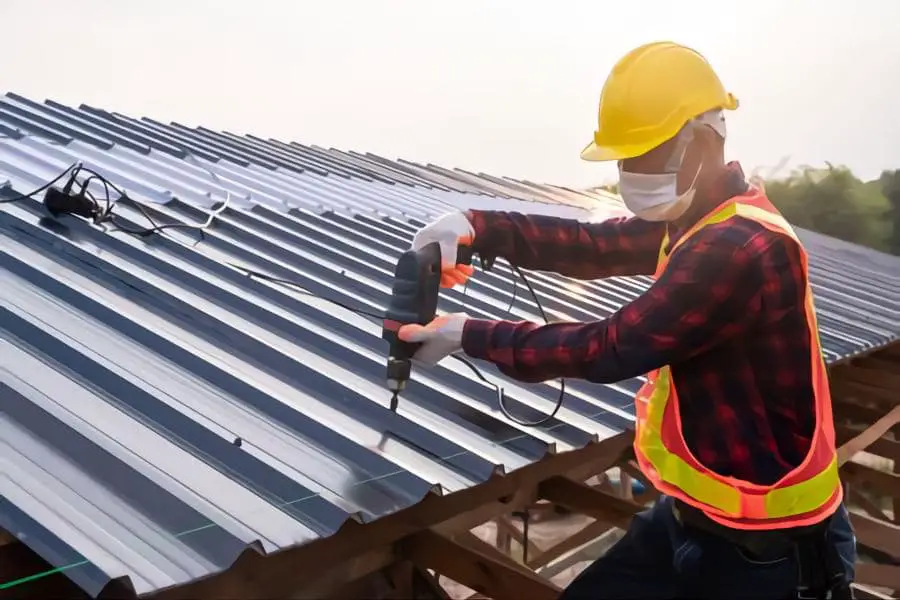
Installing metal roofing on a shed. Metal plate roof was our initial option for the Retreat because of its elegant, futuristic appearance.
It has no apparent stitches and requires no servicing; even a little rainfall will clear the ceiling of trash and debris. Much greater, in the shadow of the German forests, it won’t develop mold or fungus.
A steel roof can save you money on cooling expenditures since it reflects heat and will endure 50 to 70 yrs. You can put a roofing system alone in only a few weekends if you have a fundamental grasp of its structure and a few pointers.
It’s all about the levels in this case. When it showers, a roof drains water by transferring it from one stack until it flows away. If you construct your roof levels correctly, your property will remain waterproof for the rest of its lifespan.
Installing metal roofing on a shed
- Place the subfloor on top
To preserve the shallow-pitched rooftop decks, we used a self-healing ice coating. Material is the initial coating on the base of the hardwood or roof surface.
Maintaining the subfloor level and wrinkle-free is the most challenging element of the job.
Remove the lower part of the sticky covering while unrolling the subfloor over the rooftop—six to eight inches above the preceding covering.
Trim the subfloor straight and peel the remaining sticky cover-up from below once it has been laid out.
-
Make sure you purchase the correct size sheets
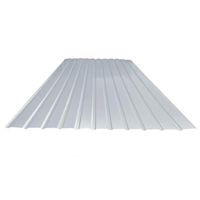 Make sure you purchase the correct size sheets
If at all necessary, keep your roof free of gaps. They don’t appear suitable, and they may allow moisture to sneak below the sheets.
The roofing system sheets were trimmed to height to suit our roofing. They had to be carried on a flatbed trailer since they were over 32 ft in length.
Of course, hoisting the sheets onto the rooftop will need extensive equipment. If there isn’t one, you’ll have to get more acceptable sizes.
-
Cut the eaves and attach them
Use one-inch rooftop screws to secure the eave trimming to the cornice and the rooftop deck above the foundation.
The eave is installed earlier than the foundation in hotter areas. We place them atop the foundation to safeguard the whole rooftop against ice dams, where they are frequent.
-
Cut for splices and overlaps
You’ll fuse two trimmed edges altogether where they intersect. To begin, slant the lower edge of the underlapping border.
Add varnish to the front of the underlapping trimming once it has been installed. Pull the lower edge of the overlapped trimming apart and slip it across the underlapping trim’s side view edge.
-
Place the sheets in place

Put every metallic sheet on a foam closing sheet on the inside. Those bands are intended to suit the panel’s flat bottom and prevent pests and moisture from entering.
Place the closing sheets about an inch from the top of the eave and use butyl tapes to secure them to the sheets.
Apply a drop of glue to the base of the closing band, then position your sheet one inch above the eave.
Set the sheet so that any measuring taken to the comparison point is identical on both sides.
-
Screws must be driven precisely

The key to a waterproof rooftop is precisely attaching the sheets. Here’s everything you need to know: Insert nails on either end of each row at the angle, aligned to pass through the rubber closing strip.
On the overlapped edge, every column should be placed no more than 2 feet apart, with one nail at every column.
Begin at the base and make your way up to the ridges, attaching columns across the sheet. Nails must sit level on the rooftop to close; twisted nails will not secure.
Do not tighten it more or under tighten the screws. Twist just until the rubber seal is compressed to the top of the tip of the screw, not beyond it. Remove any metal flakes or burrs as soon as possible. They’re going to erode.
-
Glue the ridge top on
Apply a row of outside closing sheets 4 inches from the tip of the peaked using butyl tapes to cover the rooftop; that’s where you’ll attach the top of the ridge to the ceiling.
Put a drop of sealer to the polyurethane seal, then install the roof cover on the peak and secure it to the roof decking with screw and nut thru every row.
All rainwater that falls on the rooftop will depart the ceiling without ever contacting the foundation after the cap is installed.
Conclusion
It is the end of this article. In this post, we have discussed how to install a metal roof on a shed. We hope we’ve answered all of your questions.
Installing metal roofing on a shed
Related Guides